We manufactured a Maple Butlers Pantry countertop for a client in Jupiter Florida looking to match an existing wood piece in another room. We worked with client to ensure correct color and stain for countertop.
We worked with a local client in Jupiter to create the perfect stained Maple Butlers Pantry countertop. The client had a particular color in mind and wanted to recreate this for their butlers pantry room.
In order to get the right color the client provided us with a photo of the desired color. We pulled various variations for options and they decided on one.
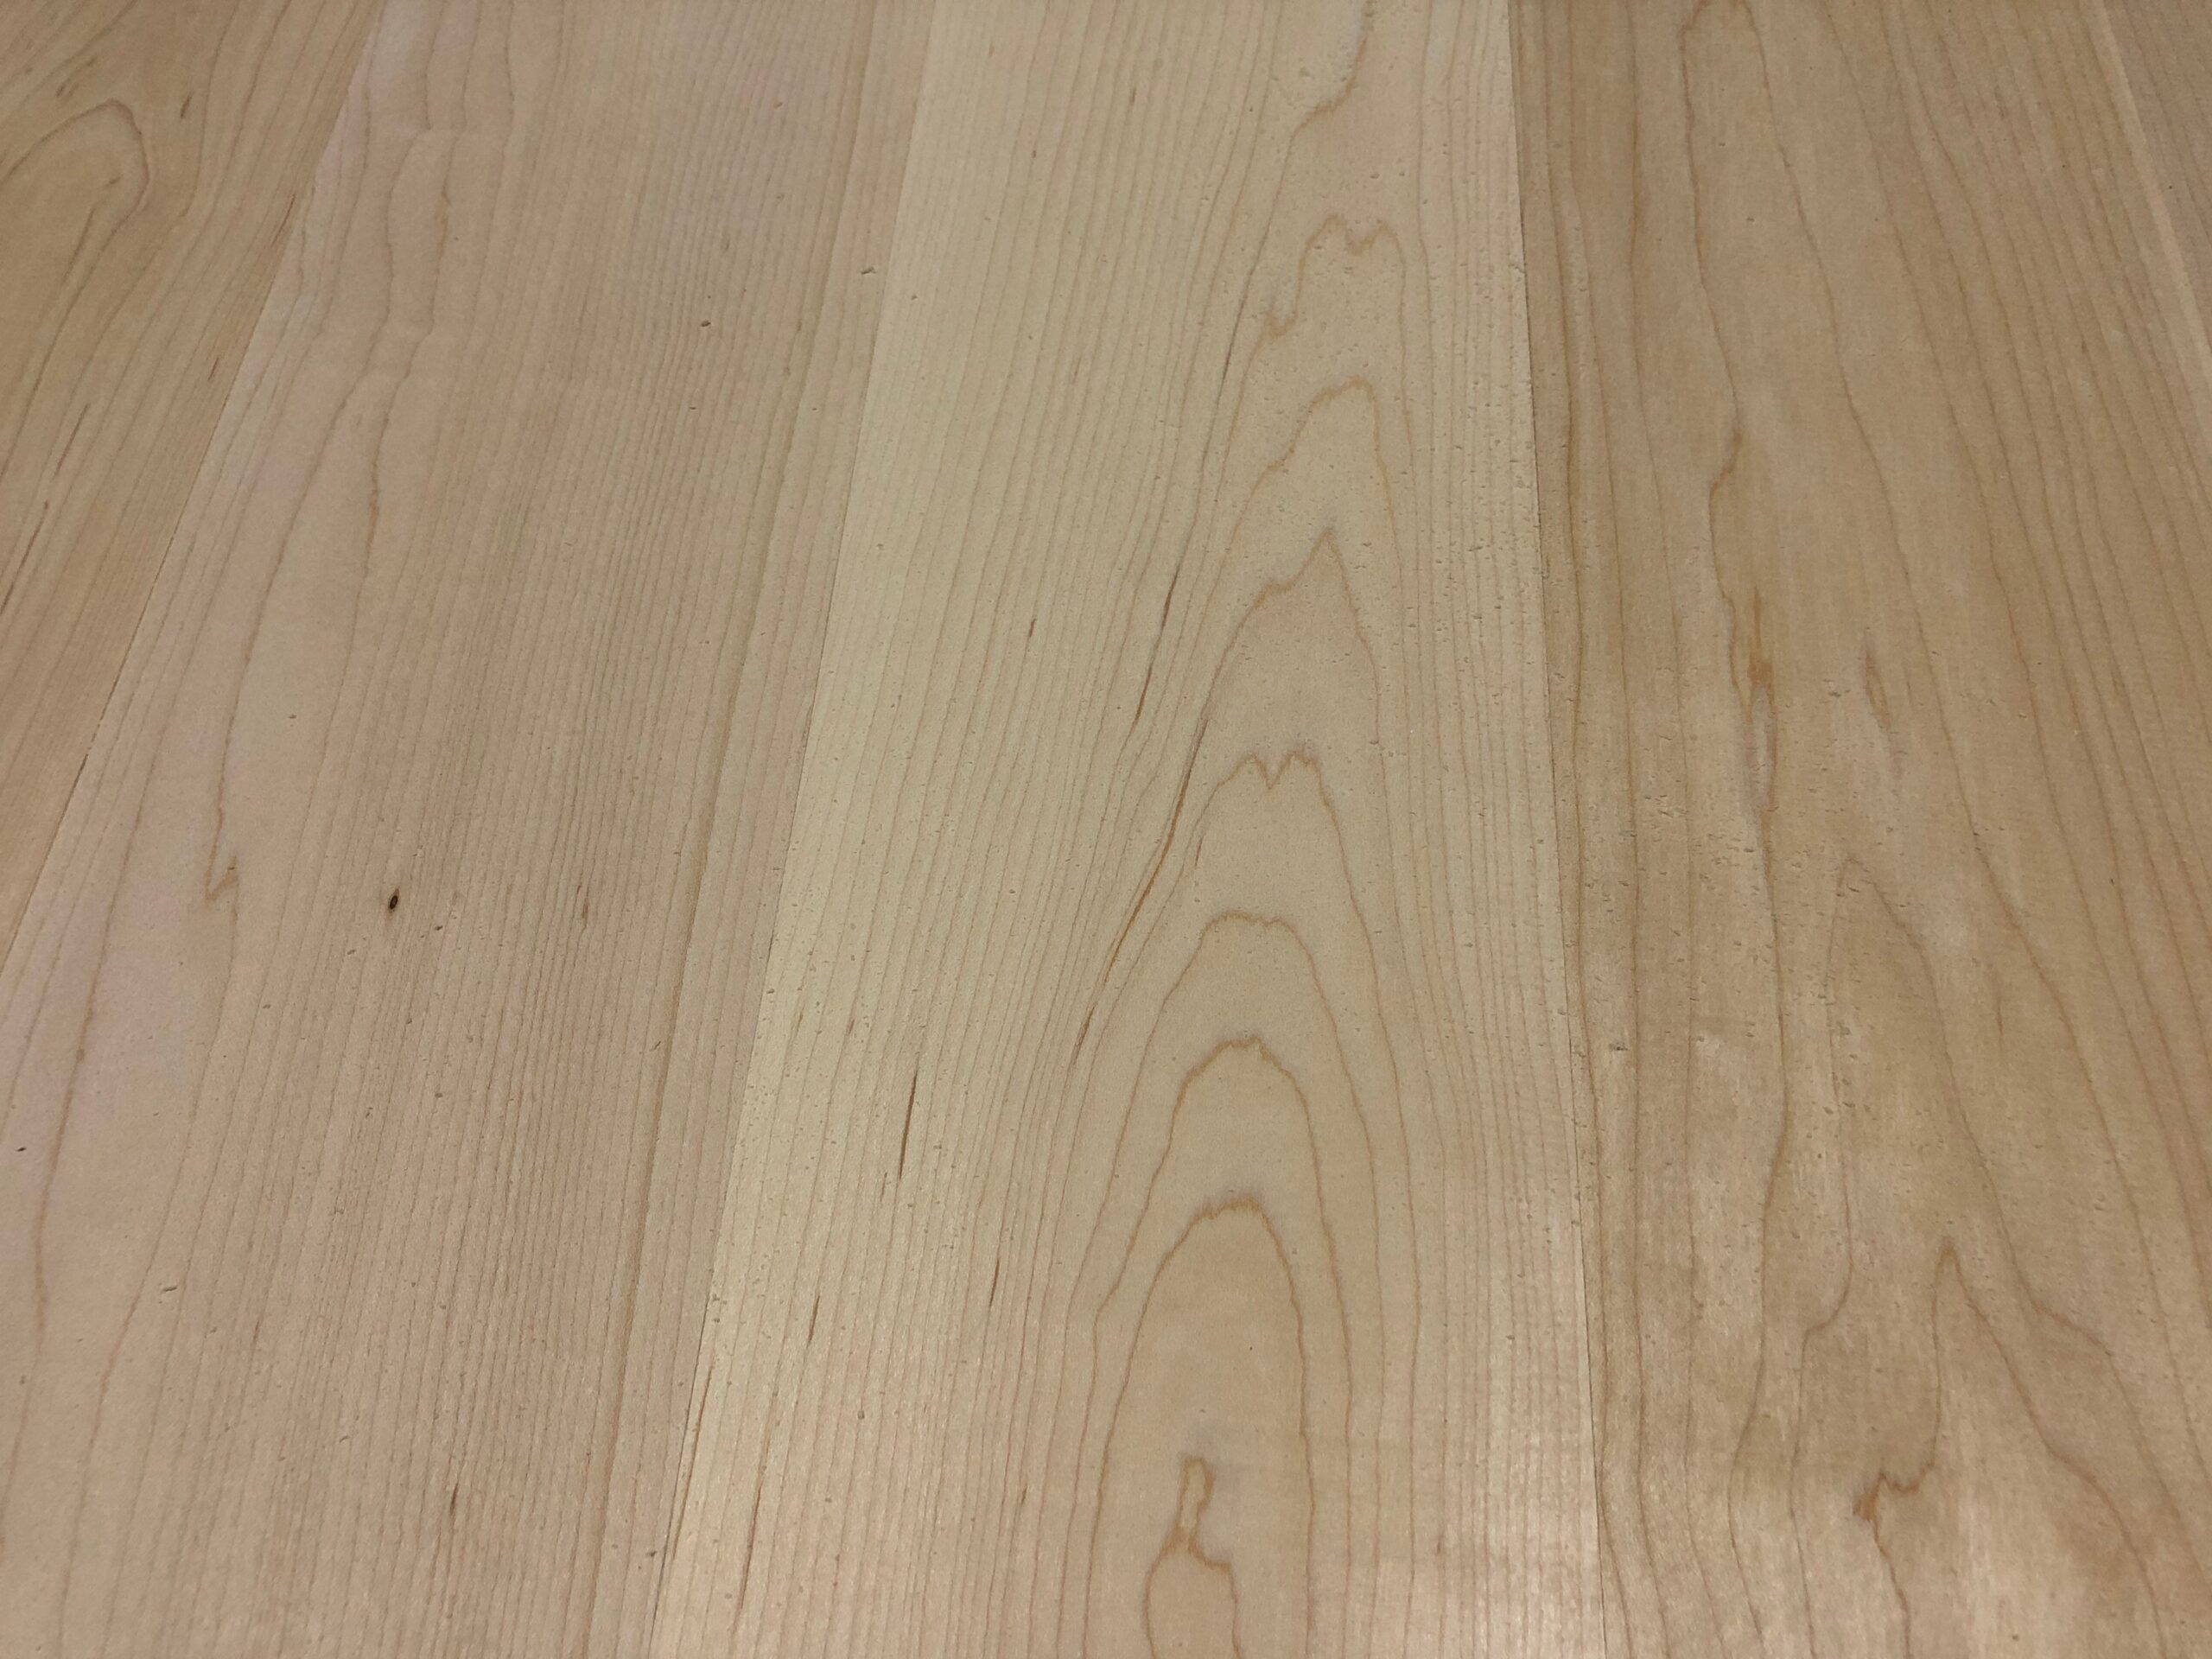
The best option to achieve the desired color was to use Hard Maple as the hardwood to manufacture the piece.
Each piece of wood was carefully hand selected for thickness, width and desired length. Careful care was taken in ensuring no imperfections were on the wood.
Once the pieces were pulled they were then milled to spec. This was done by using a planer, jointer and table saw machinery.
Maple Butler’s Pantry Countertop
Project Details Continued
After all the material was milled to spec it was then time to glue up the piece
Each board is carefully inspected on each side to select best side for top. Then each board is laid down to create the best grain pattern, thickness and straightness.
Once the boards are into place each side is generously glued together and clamped using Bessy clamps. This process takes about 12-24 hours to cure and dry.
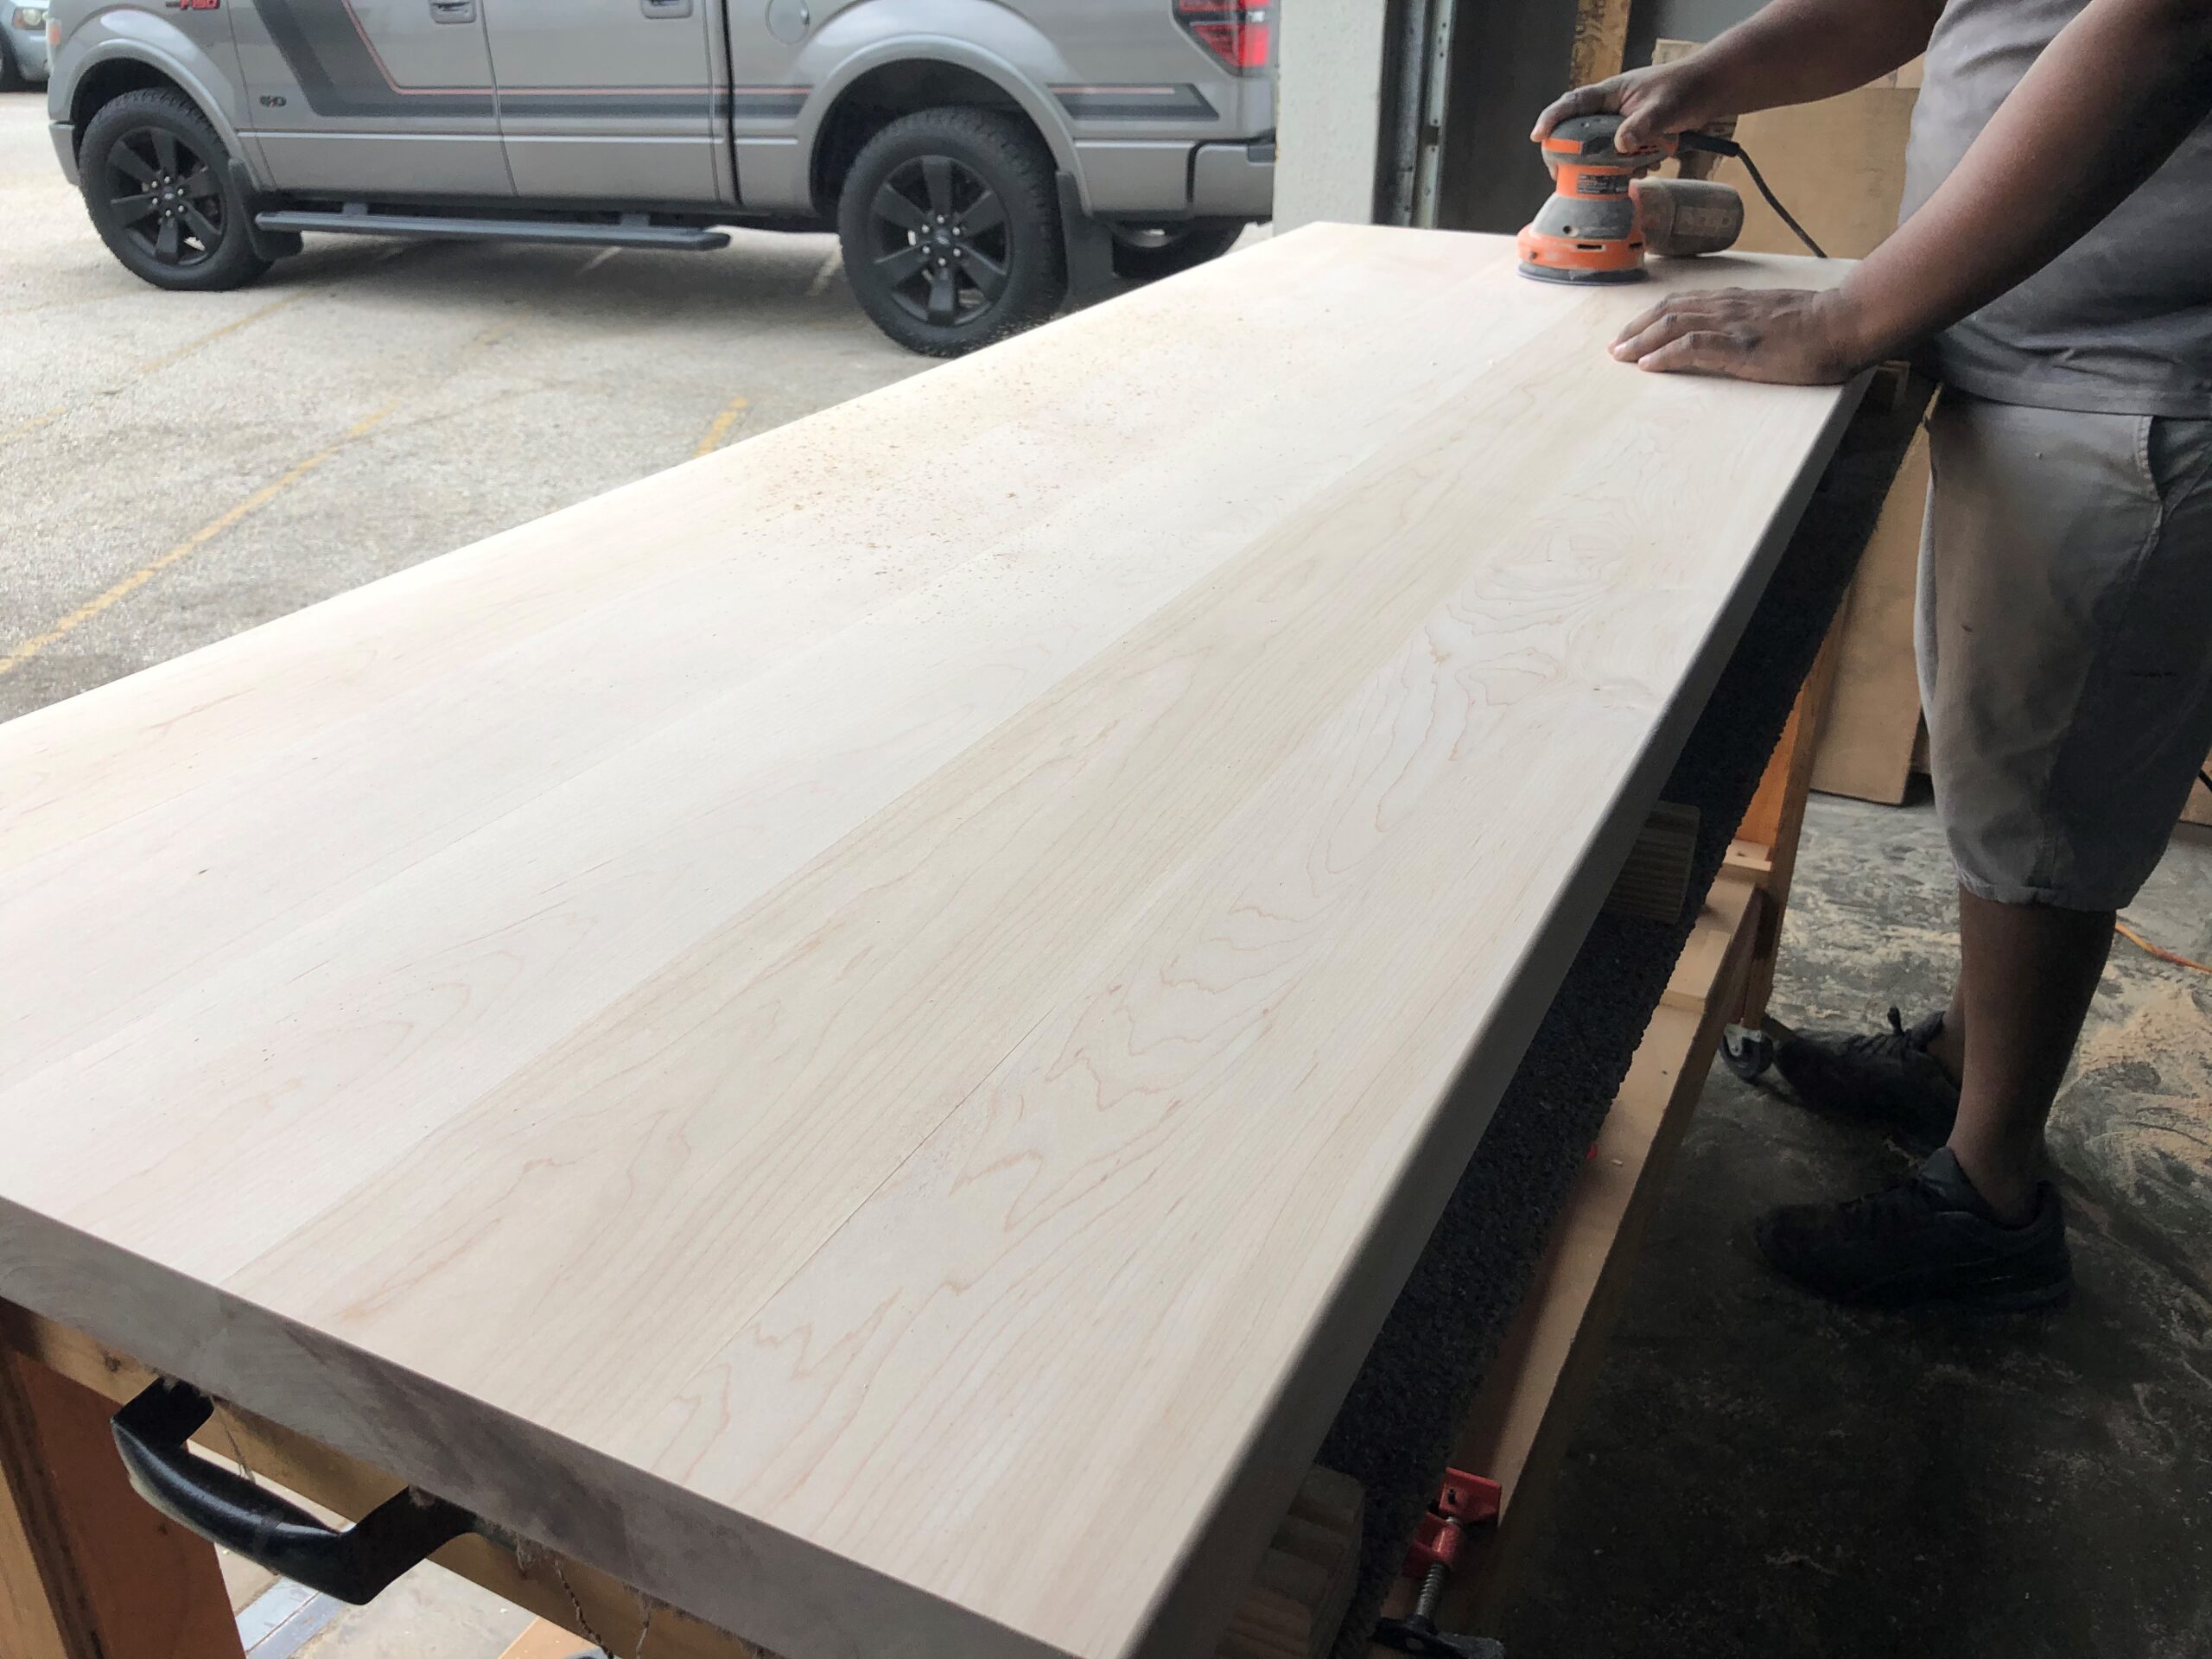
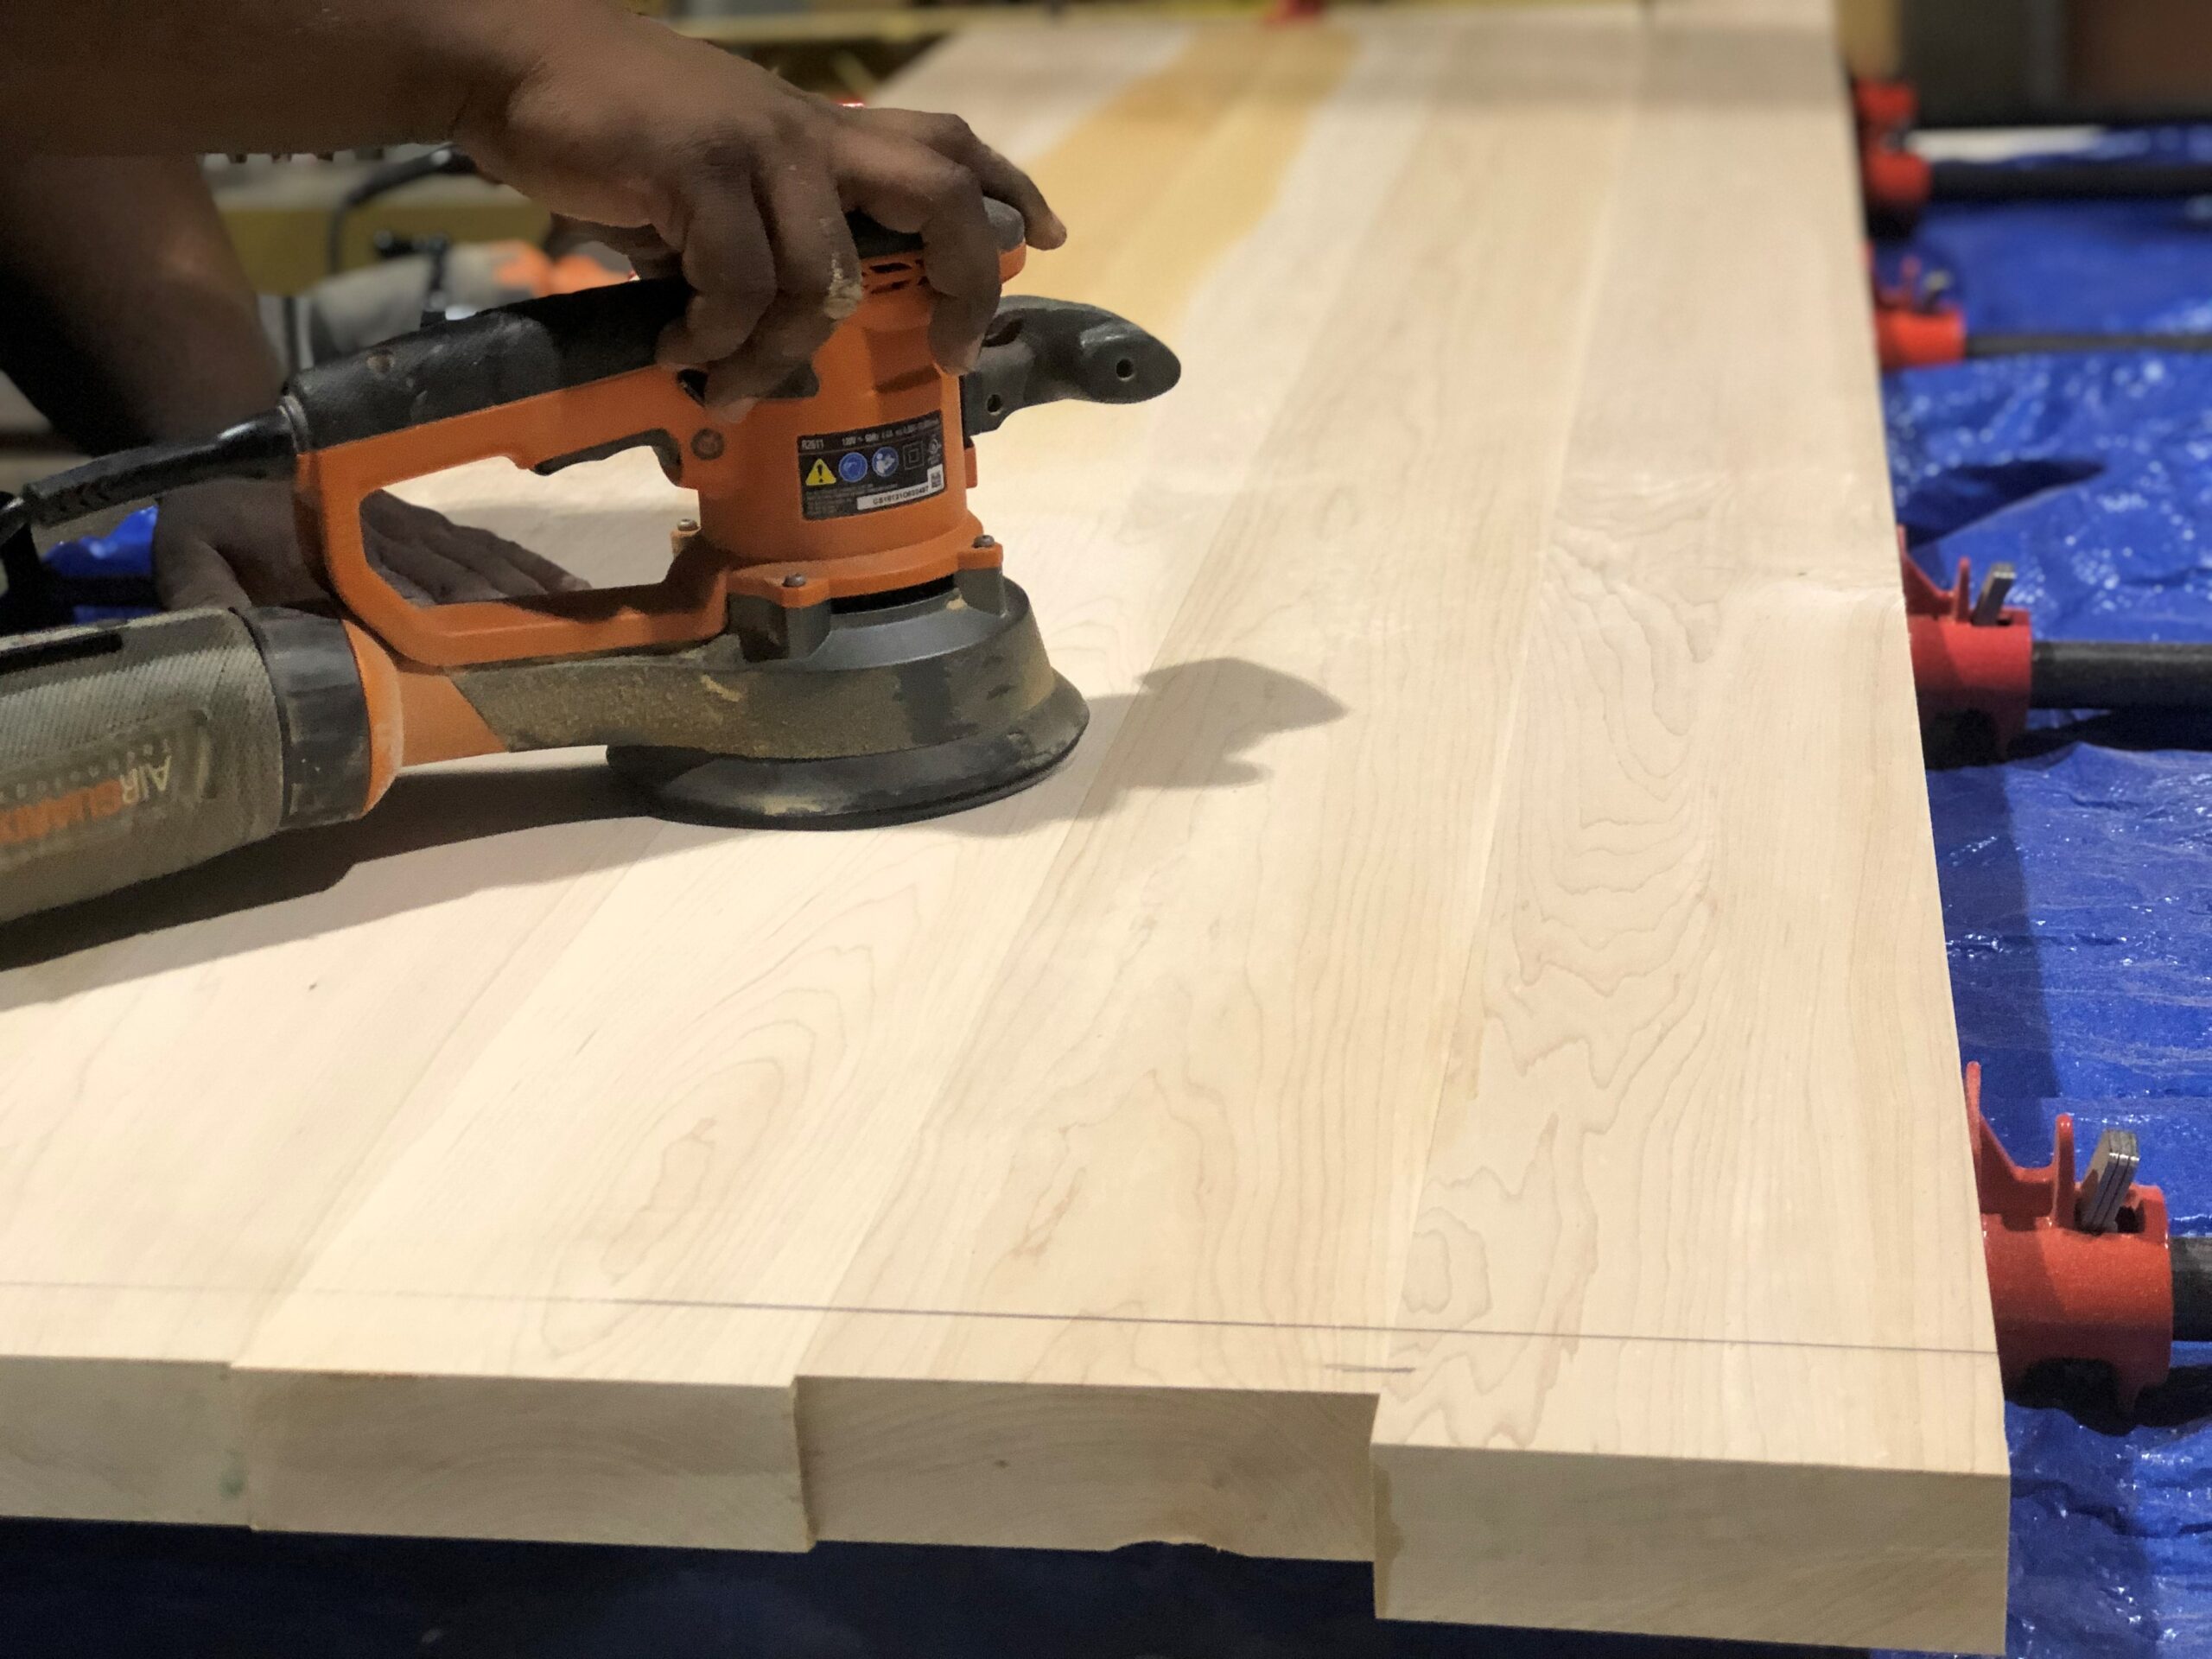
The countertop is then planed and sanded smooth
Each side is cut to specific dimensions and routed along the edges for a smooth soft edge
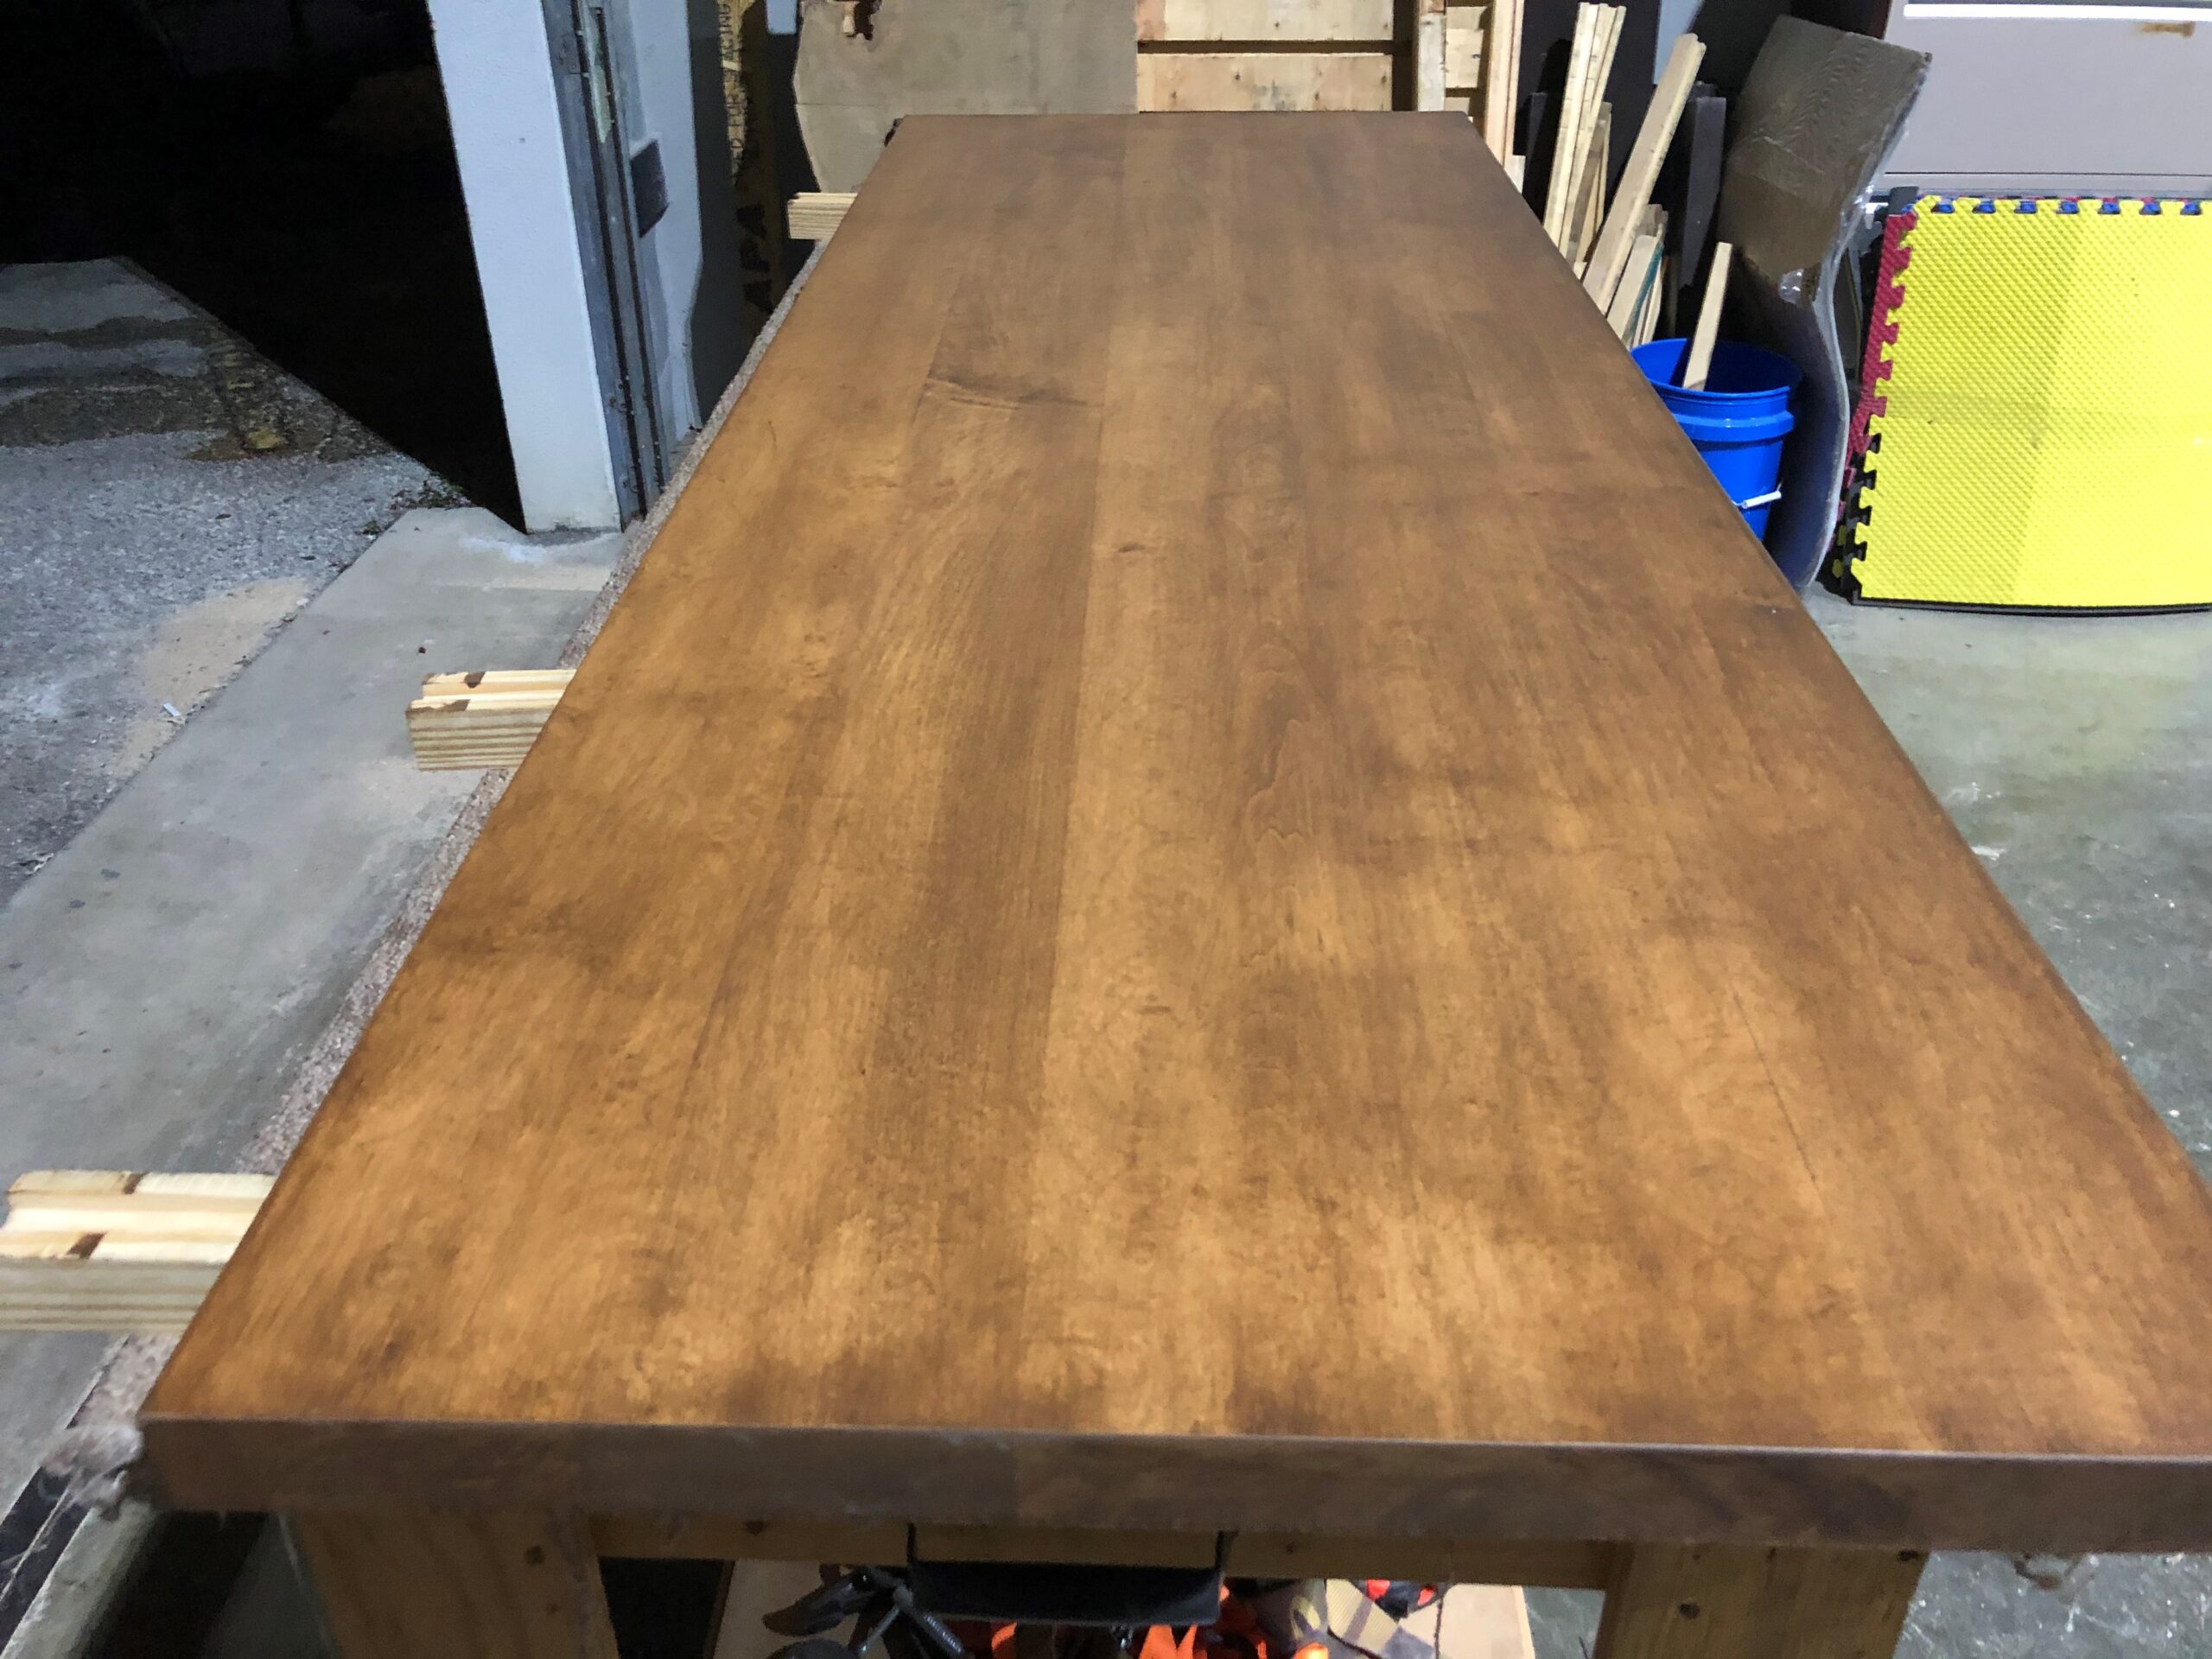
The next step is to apply the stain to the countertop. With special care to the amount applied you can start with less and always add more if needed.
Once this process is complete and dry the countertop is ready for the sealant. We applied a matte polyurethane finish on the countertop to help protect and seal